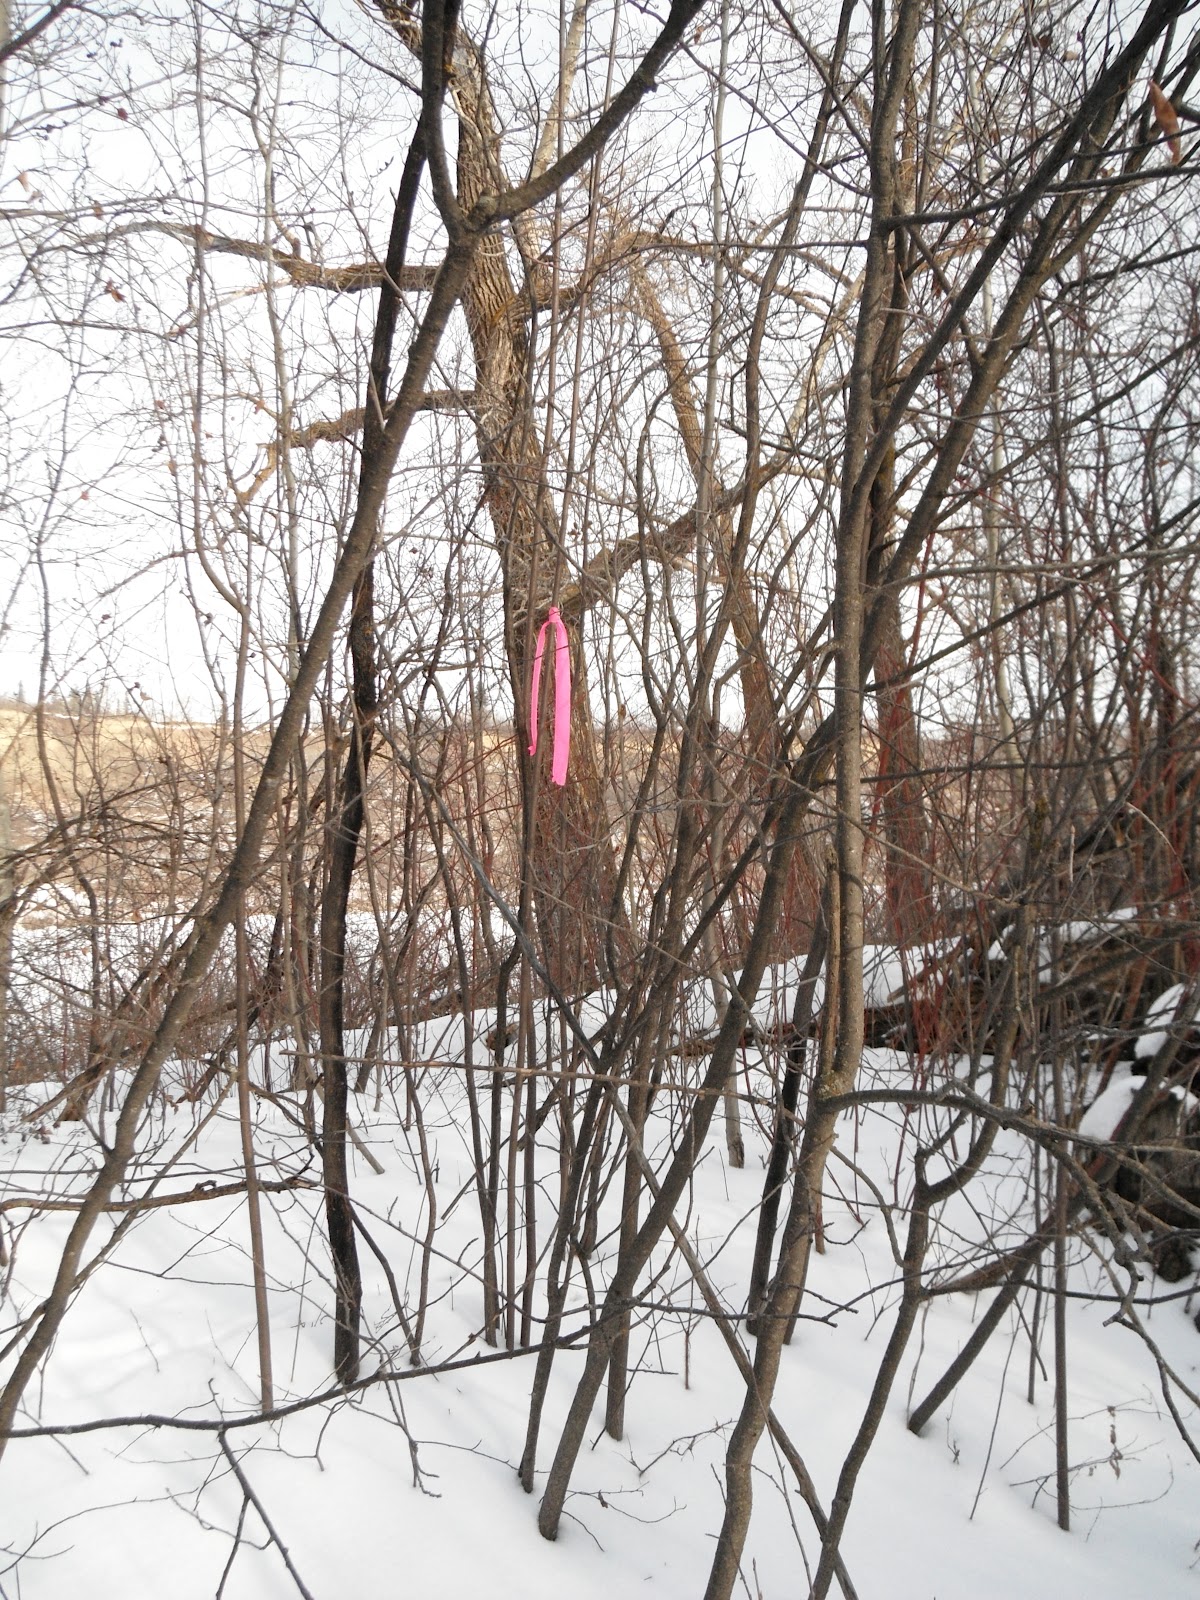
I was out this weekend continuing with my quest for wood fly rod blanks. I have still not found anything better than the first blank I cut a few weeks back but I did locate a potential future candidate. Like the blank I have already harvested this one is close to 9 feet tall, has a minimal number of small branches and knots, and is almost perfectly straight – the only flaw is that it is a little on the skinny side. Most flaws usually result in a complete rejection of the blank but because this one is perfect in every way except the thickness, it is worth keeping an eye on. The plan is to monitor it for a few years and cut it when the base reaches about 3/4” to 7/8” in diameter. It found this one growing in the middle of a tight cluster of taller trees. To help it out a little, and to increase its potential as a fly rod blank, I carefully trimmed off all of the small lower branches so that they do not develop into larger knots. I also thinned out the cluster a little so the sapling has a little more room to grow. This one will be a long term investment but will be well worth the effort.
I thought it may be worthwhile here to including a summary of the steps involved in the overall rod construction process for those of you who are considering building your own;
1. Selecting the blank (as long as it takes to find a good one)
2. Cutting and drying the blank (1-2 hour set-up but requires a full year to complete)
3. Shaving off the bark and initial sanding (2-3 hours)
4. Heat treating the blank (2-3 hours)
5. Sanding to desired taper (up to 16 hours)
6. Pseudo-lamination process (1-2 hour set-up but requires about 6 months to complete)
7. Sanding to final taper and varnishing the blank (4-6 hours)
8. Assembling the grip and reel seat (2-3 hours)
9. Attaching rod guides and varnishing the threads (3-4 hours)
10. Building a storage tube (1 hour)
No comments:
Post a Comment
Note: Only a member of this blog may post a comment.